OAuth 2.0 Authorization_Code Grant Sample Application Demonstration
In previous blog posts about OAuth 2.0 and OAuth Grant Types I discussed about the basic idea of OAuth 2.0 framework and the four main grant types of retrieving an access-token. Comparing all four grant types, you can see that the "Authorization code" grant type is somewhat complex than the other three grant types.
So, I thought about developing a simple web based java application just to demonstrate the message passing (requests and responses) flow of OAuth 2.0 Authorization code grant type.
Again, if you are not familiar with OAuth 2.0 framework or its grant types, visit my blog posts about,
😊
As I was saying, I developed an application to demonstrate the flow of authorization_code grant, and I used JAVA as the language, Apache Maven as the building tool and Apache Tomcat as the web server.
Lets see how this works. 😉
As you remember, the first thing to do as a client is to get the authorization code. To do that the client must directing the resource owner’s user-agent (the web browser) to the authorization endpoint at the authorization server.
I developed this application to get some resources such as the user name, user ID, and the friend count of the user from the Facebook, I know these are not "Protected resources" 😅 but for demonstrate the flow these are more than enough. 😅😅
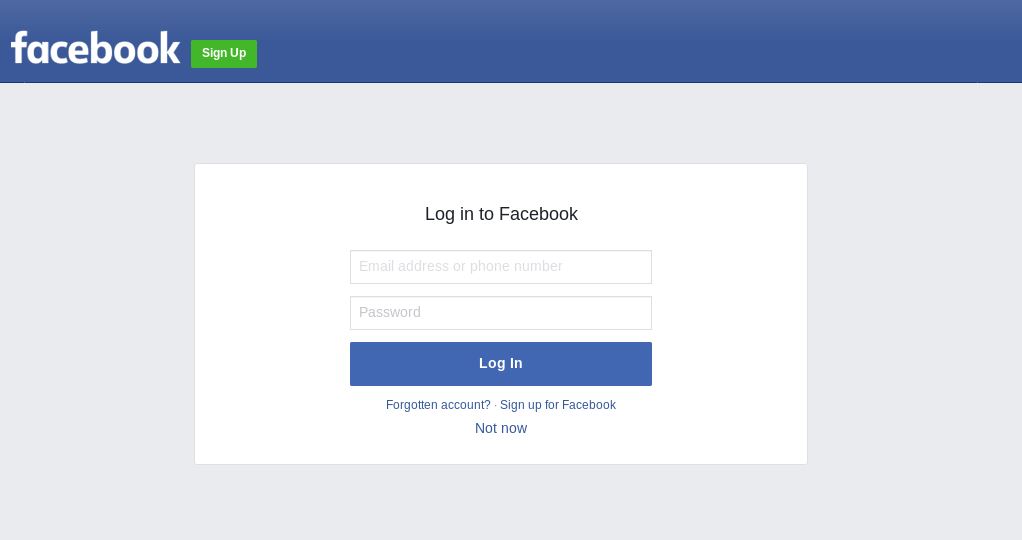
So, the Facebook's authorization end point is,

The page will look like the above image.
To register your application, go to the right top corner to the tab says "My Apps", if you're not logged in to Facebook, it will appear as "Log in", if so log in.
After logged in, you can go to the "My Apps" tab and create a new application by clicking Add new App.

After this give a proper Display name. This is your application name.
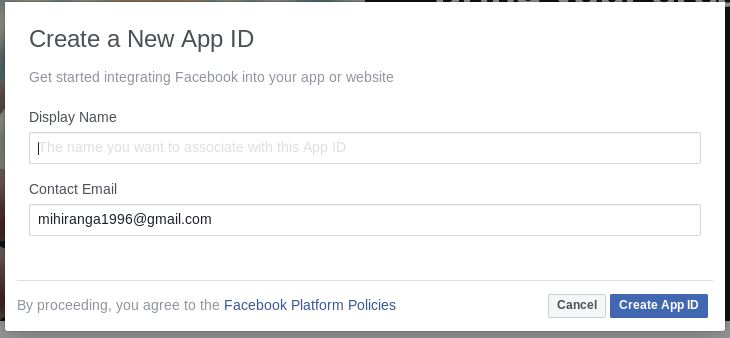
Create the application, complete the Security Check.
Now you can see a page like this,
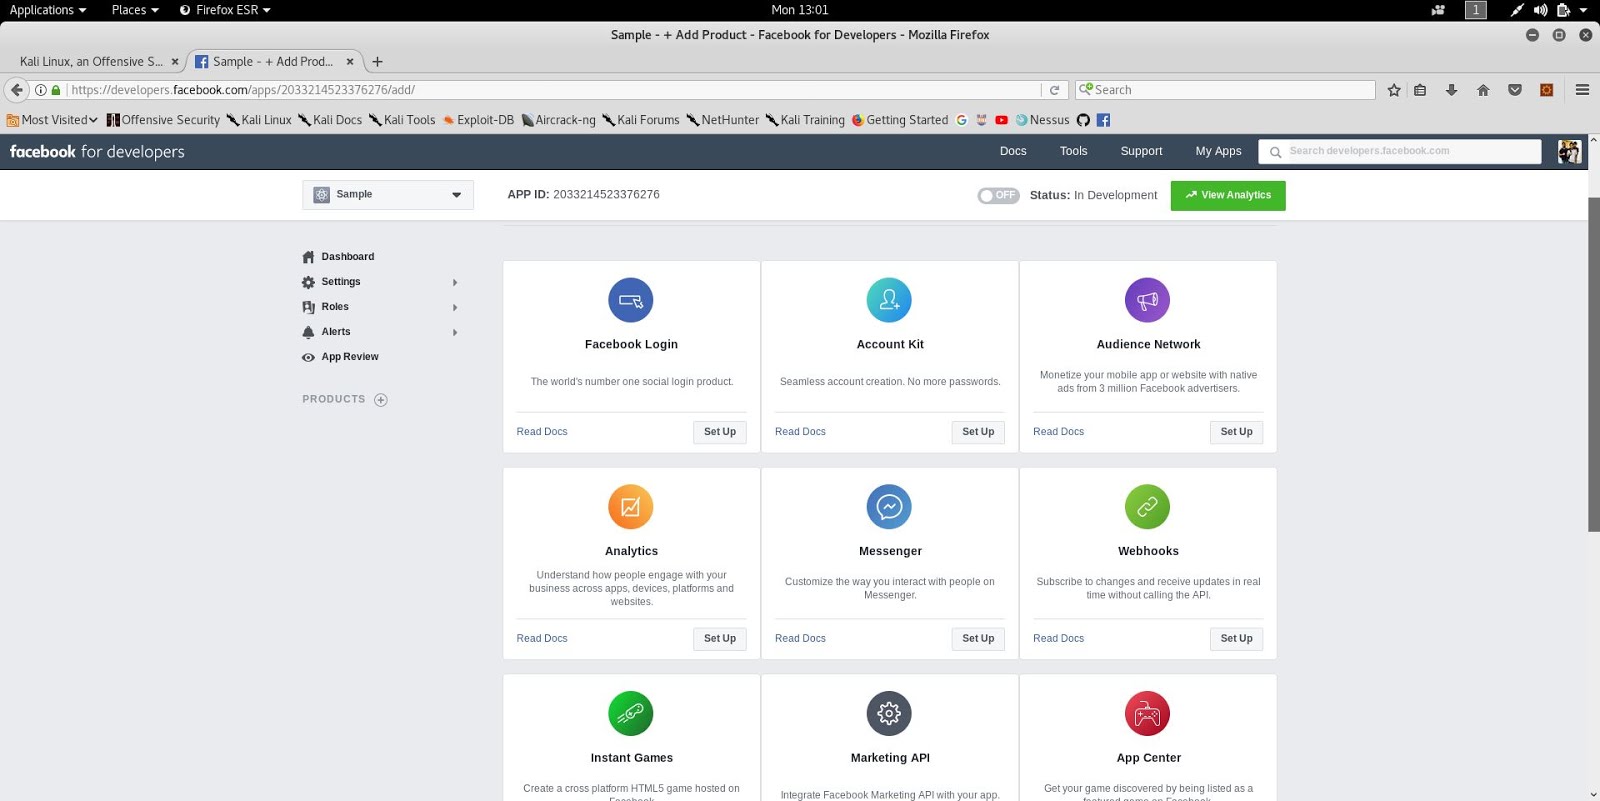
Go to Facebook Login,

Set up the application,
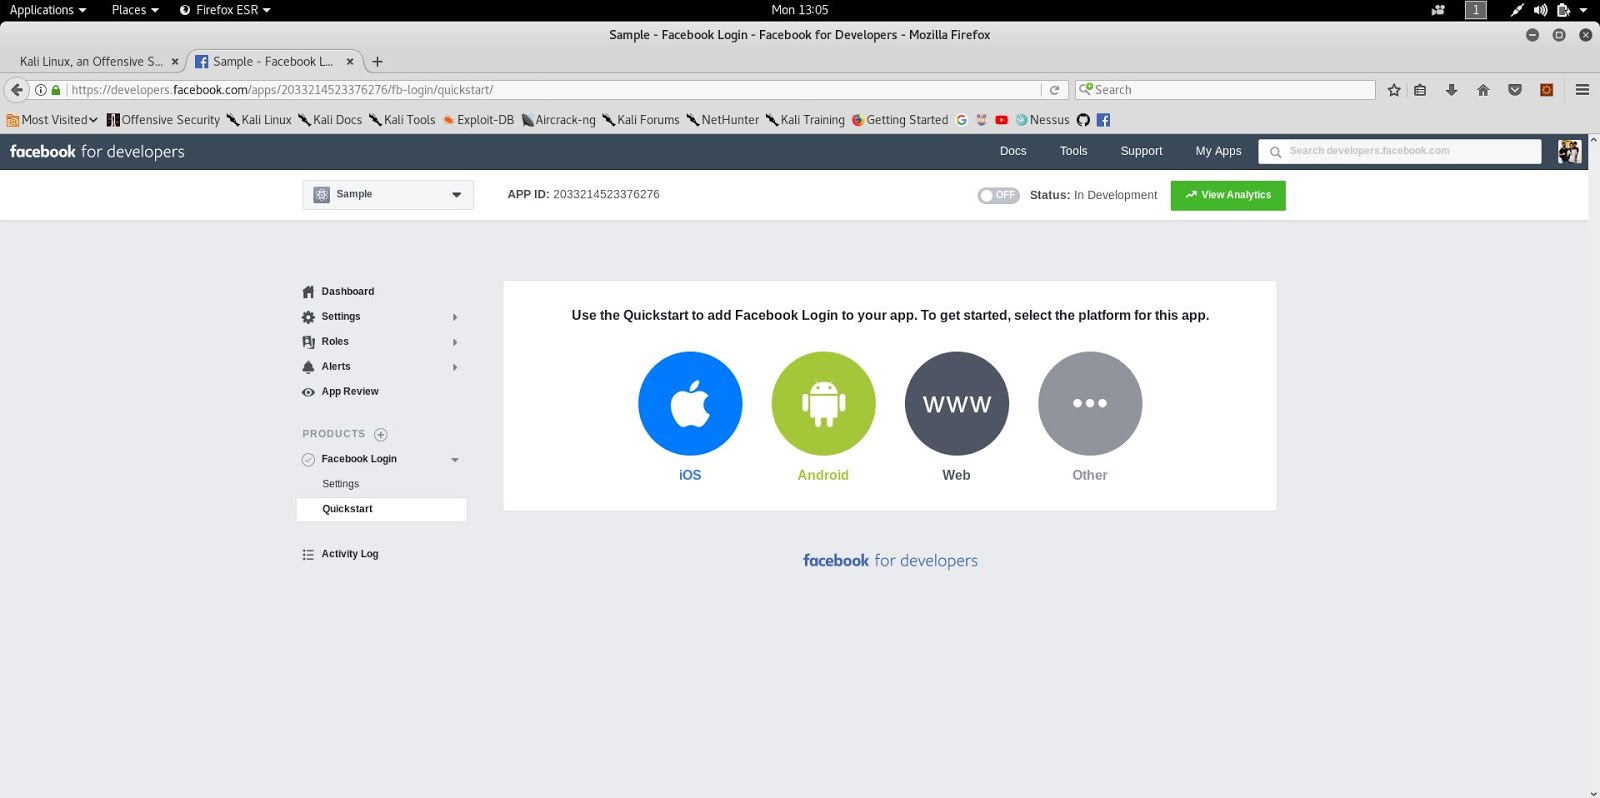
After setting up, the following page will display, select your application type. In my case I selected WWW since I'm developing a web application.
Now its time to give the "redirection_uri". You need to have your own endpoint to receive responses from the authorization server.
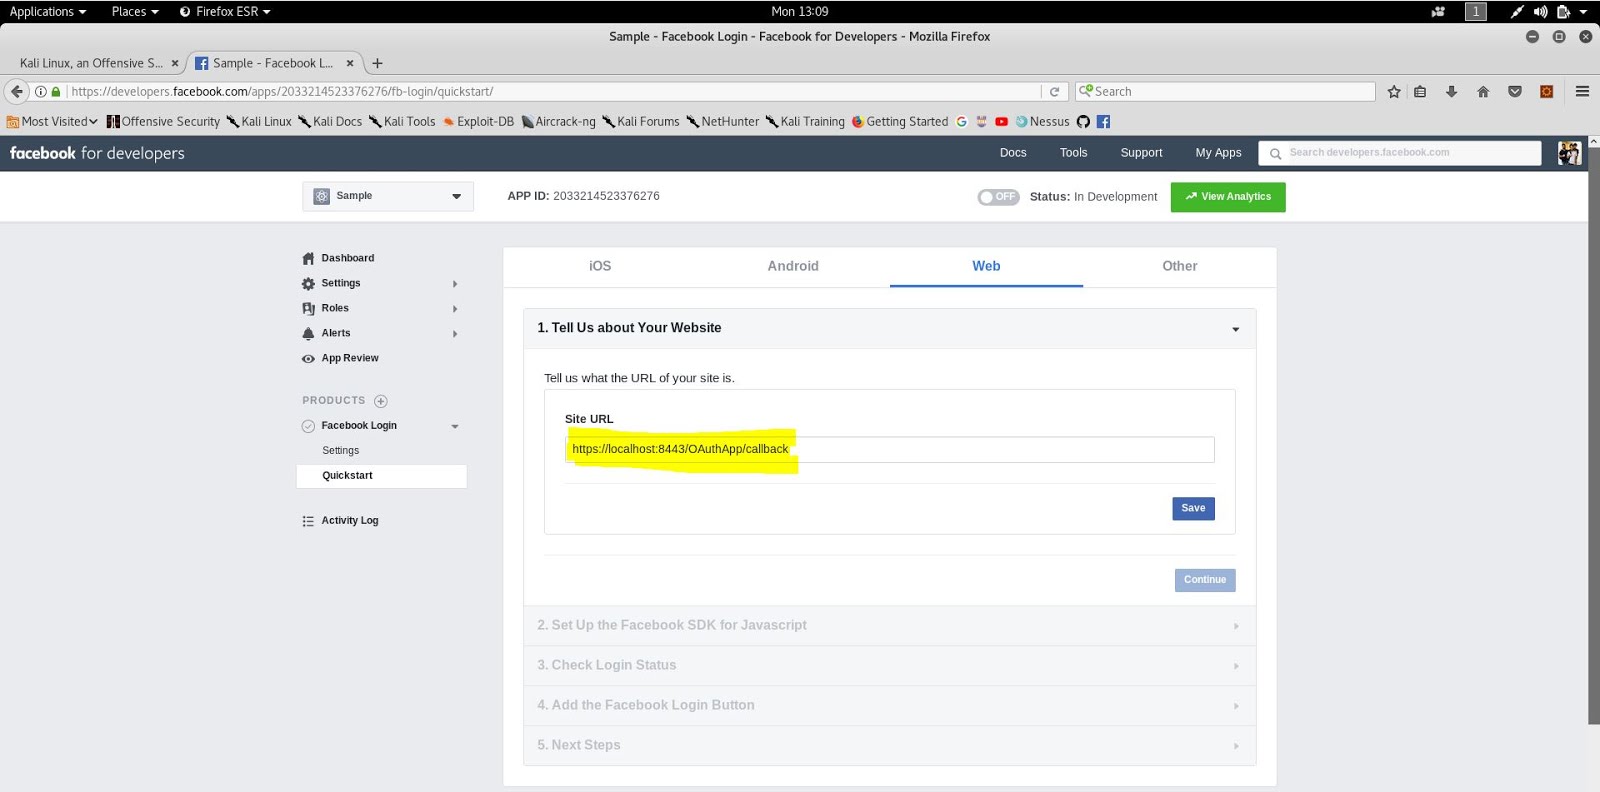
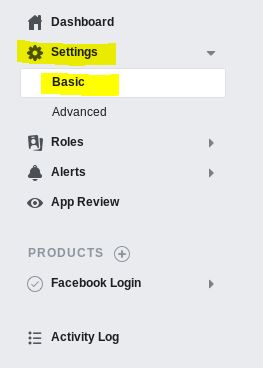
You can type your redirection_uri where this page says Site URL. (as highlighted in above image). Click on save and go to the Settings and then Basic
Now you can get the client_id and secret. The highlighted fields in the following image will give you an idea. Anyways, to get the secret, need to click on show button.
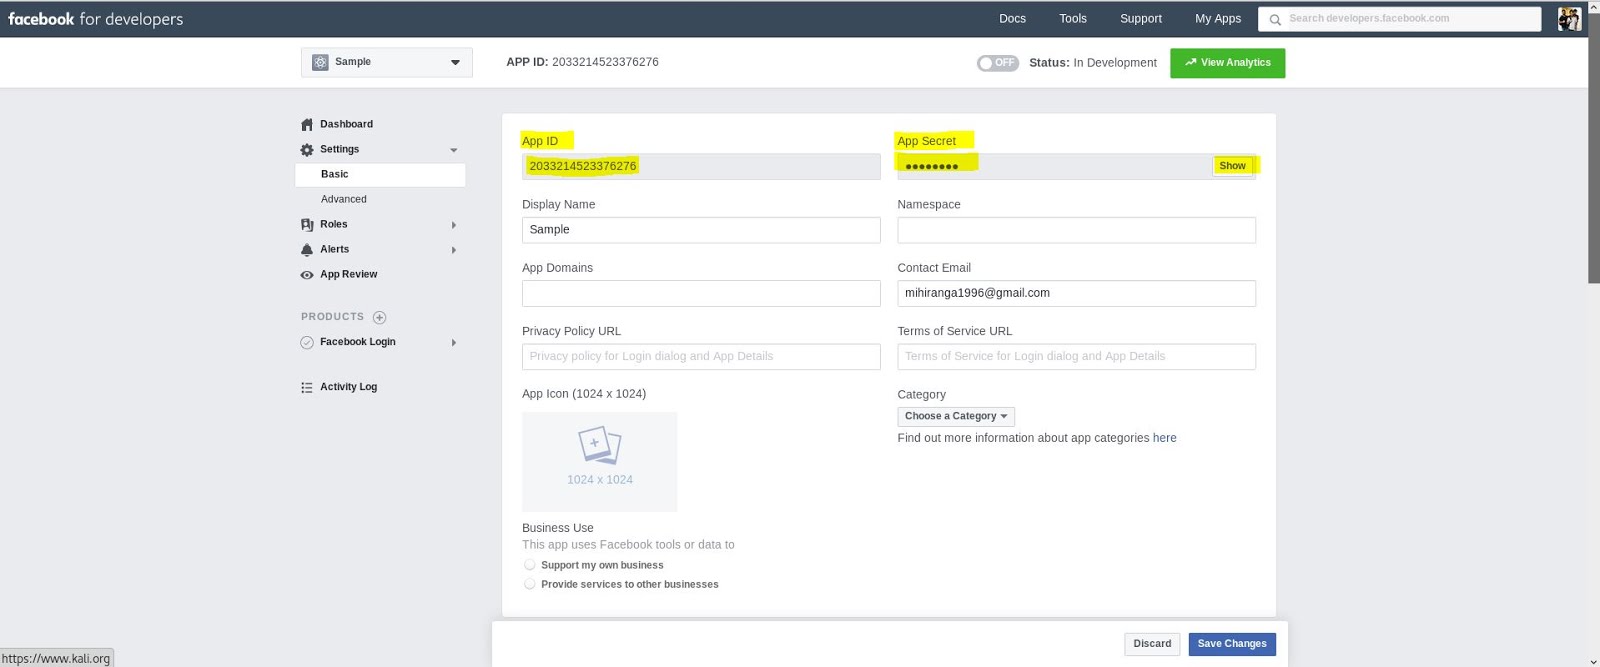
So, after all these steps we can get our client_id, secret, and also we set up the redirection_uri. So far so good 😃
Back to the authorization request.
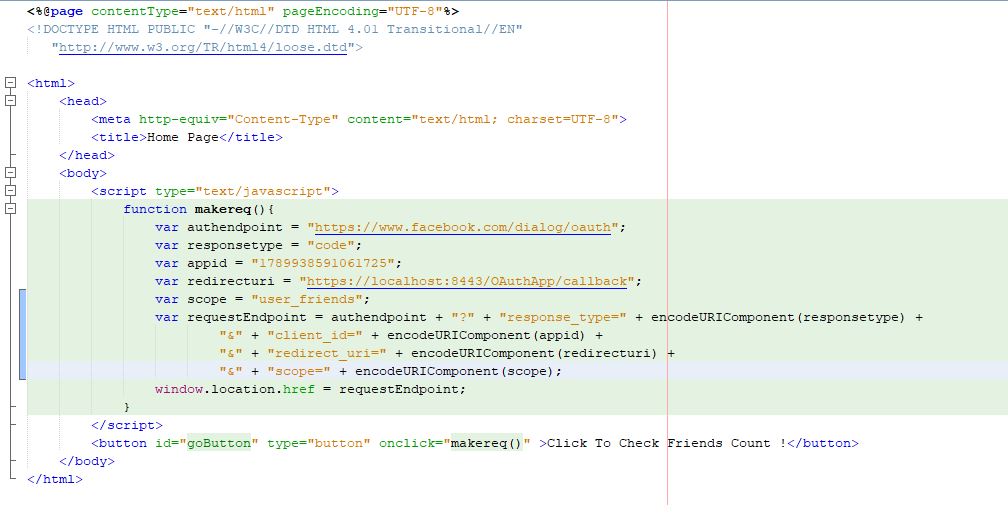
So now we have all our needed parameter values, need to send those to the authorization server's authorization endpoint.
In JavaScript we can do it like this,
So after execution of the above code, the authorization server authenticate the resource owner by user concern page and redirect the code to our redirection uri.

After getting this, need to extract this code value and send a HTTP POST request to the token endpoint in the authorization sever, as I mentioned in my previous blog post need to set all parameters in the request body, and as well as the request header.
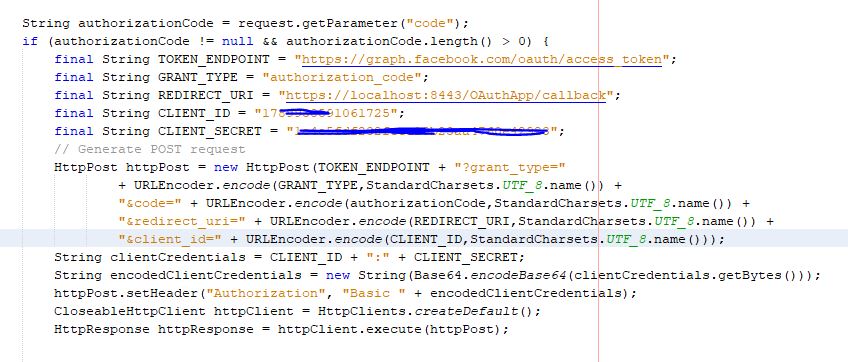
In the above image, it will show you how this can done in JAVA servlet , (if you are going to try this on your own, put your own client id, secret).
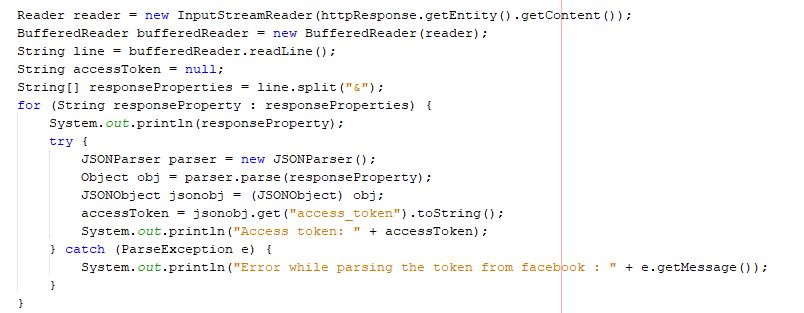
Now the token will receive in a JSON object. You can extract it,
Following code will give you an idea about this extraction.
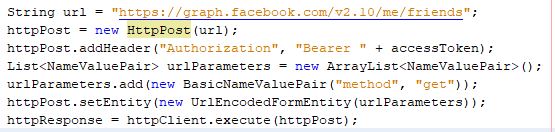
So, after retrieving the access-token, we can present it to the resource server via a HTTP POST request,
In this request header, there should be a header called Authorization and its value should be Bearer<space>access-token.
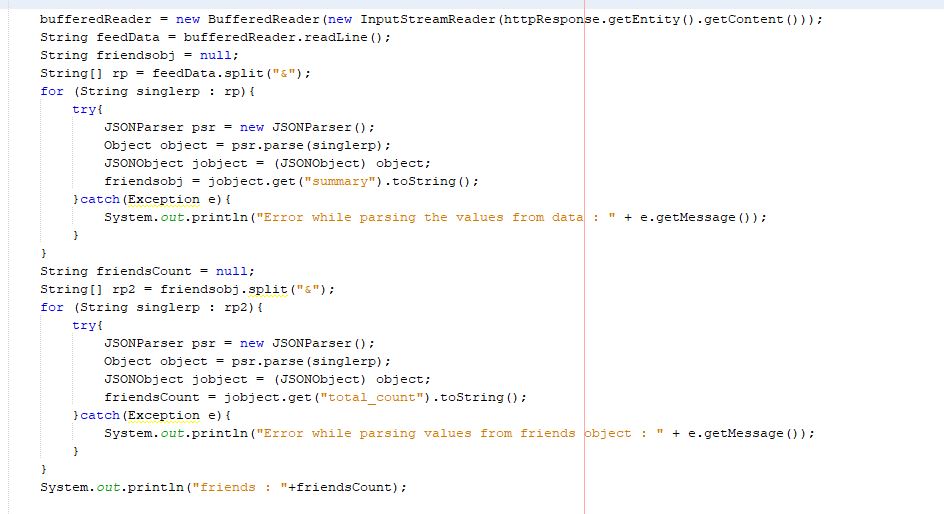
So the response of this request will also be a JSON response.
Now all we need to do is to extract the relevant information from the JSON response.
You need to configure HTTPS on your server in order to test this application.
The source code to this application is available in my GitHub account 👍
So, I thought about developing a simple web based java application just to demonstrate the message passing (requests and responses) flow of OAuth 2.0 Authorization code grant type.
Again, if you are not familiar with OAuth 2.0 framework or its grant types, visit my blog posts about,
😊
As I was saying, I developed an application to demonstrate the flow of authorization_code grant, and I used JAVA as the language, Apache Maven as the building tool and Apache Tomcat as the web server.
Lets see how this works. 😉
As you remember, the first thing to do as a client is to get the authorization code. To do that the client must directing the resource owner’s user-agent (the web browser) to the authorization endpoint at the authorization server.
I developed this application to get some resources such as the user name, user ID, and the friend count of the user from the Facebook, I know these are not "Protected resources" 😅 but for demonstrate the flow these are more than enough. 😅😅
So, the Facebook's authorization end point is,
https://www.facebook.com/dialog/oauth
So first, we need to send a request to this url (authorization endpoint of facebook). This is a GET request and the following parameters need to set.
- authorization endpoint (https://www.facebook.com/dialog/oauth ).
- response_type (in this case it MUST be code).
- client_id
- redirect_uri
- scope
How we get this client_id?
In order to get the client_id as well as the client_secret, we need to register our application in https://developers.facebook.com/
The page will look like the above image.
To register your application, go to the right top corner to the tab says "My Apps", if you're not logged in to Facebook, it will appear as "Log in", if so log in.
After logged in, you can go to the "My Apps" tab and create a new application by clicking Add new App.
After this give a proper Display name. This is your application name.
Create the application, complete the Security Check.
Now you can see a page like this,
Go to Facebook Login,
Set up the application,
After setting up, the following page will display, select your application type. In my case I selected WWW since I'm developing a web application.
Now its time to give the "redirection_uri". You need to have your own endpoint to receive responses from the authorization server.
You can type your redirection_uri where this page says Site URL. (as highlighted in above image). Click on save and go to the Settings and then Basic
Now you can get the client_id and secret. The highlighted fields in the following image will give you an idea. Anyways, to get the secret, need to click on show button.
So, after all these steps we can get our client_id, secret, and also we set up the redirection_uri. So far so good 😃
Back to the authorization request.
So now we have all our needed parameter values, need to send those to the authorization server's authorization endpoint.
In JavaScript we can do it like this,
So after execution of the above code, the authorization server authenticate the resource owner by user concern page and redirect the code to our redirection uri.
After getting this, need to extract this code value and send a HTTP POST request to the token endpoint in the authorization sever, as I mentioned in my previous blog post need to set all parameters in the request body, and as well as the request header.
In the above image, it will show you how this can done in JAVA servlet , (if you are going to try this on your own, put your own client id, secret).
Now the token will receive in a JSON object. You can extract it,
Following code will give you an idea about this extraction.
So, after retrieving the access-token, we can present it to the resource server via a HTTP POST request,
In this request header, there should be a header called Authorization and its value should be Bearer<space>access-token.
So the response of this request will also be a JSON response.
Now all we need to do is to extract the relevant information from the JSON response.
You need to configure HTTPS on your server in order to test this application.
The source code to this application is available in my GitHub account 👍

Comments
Post a Comment